How to colour correct digital negatives and keep true film colours

The Theory
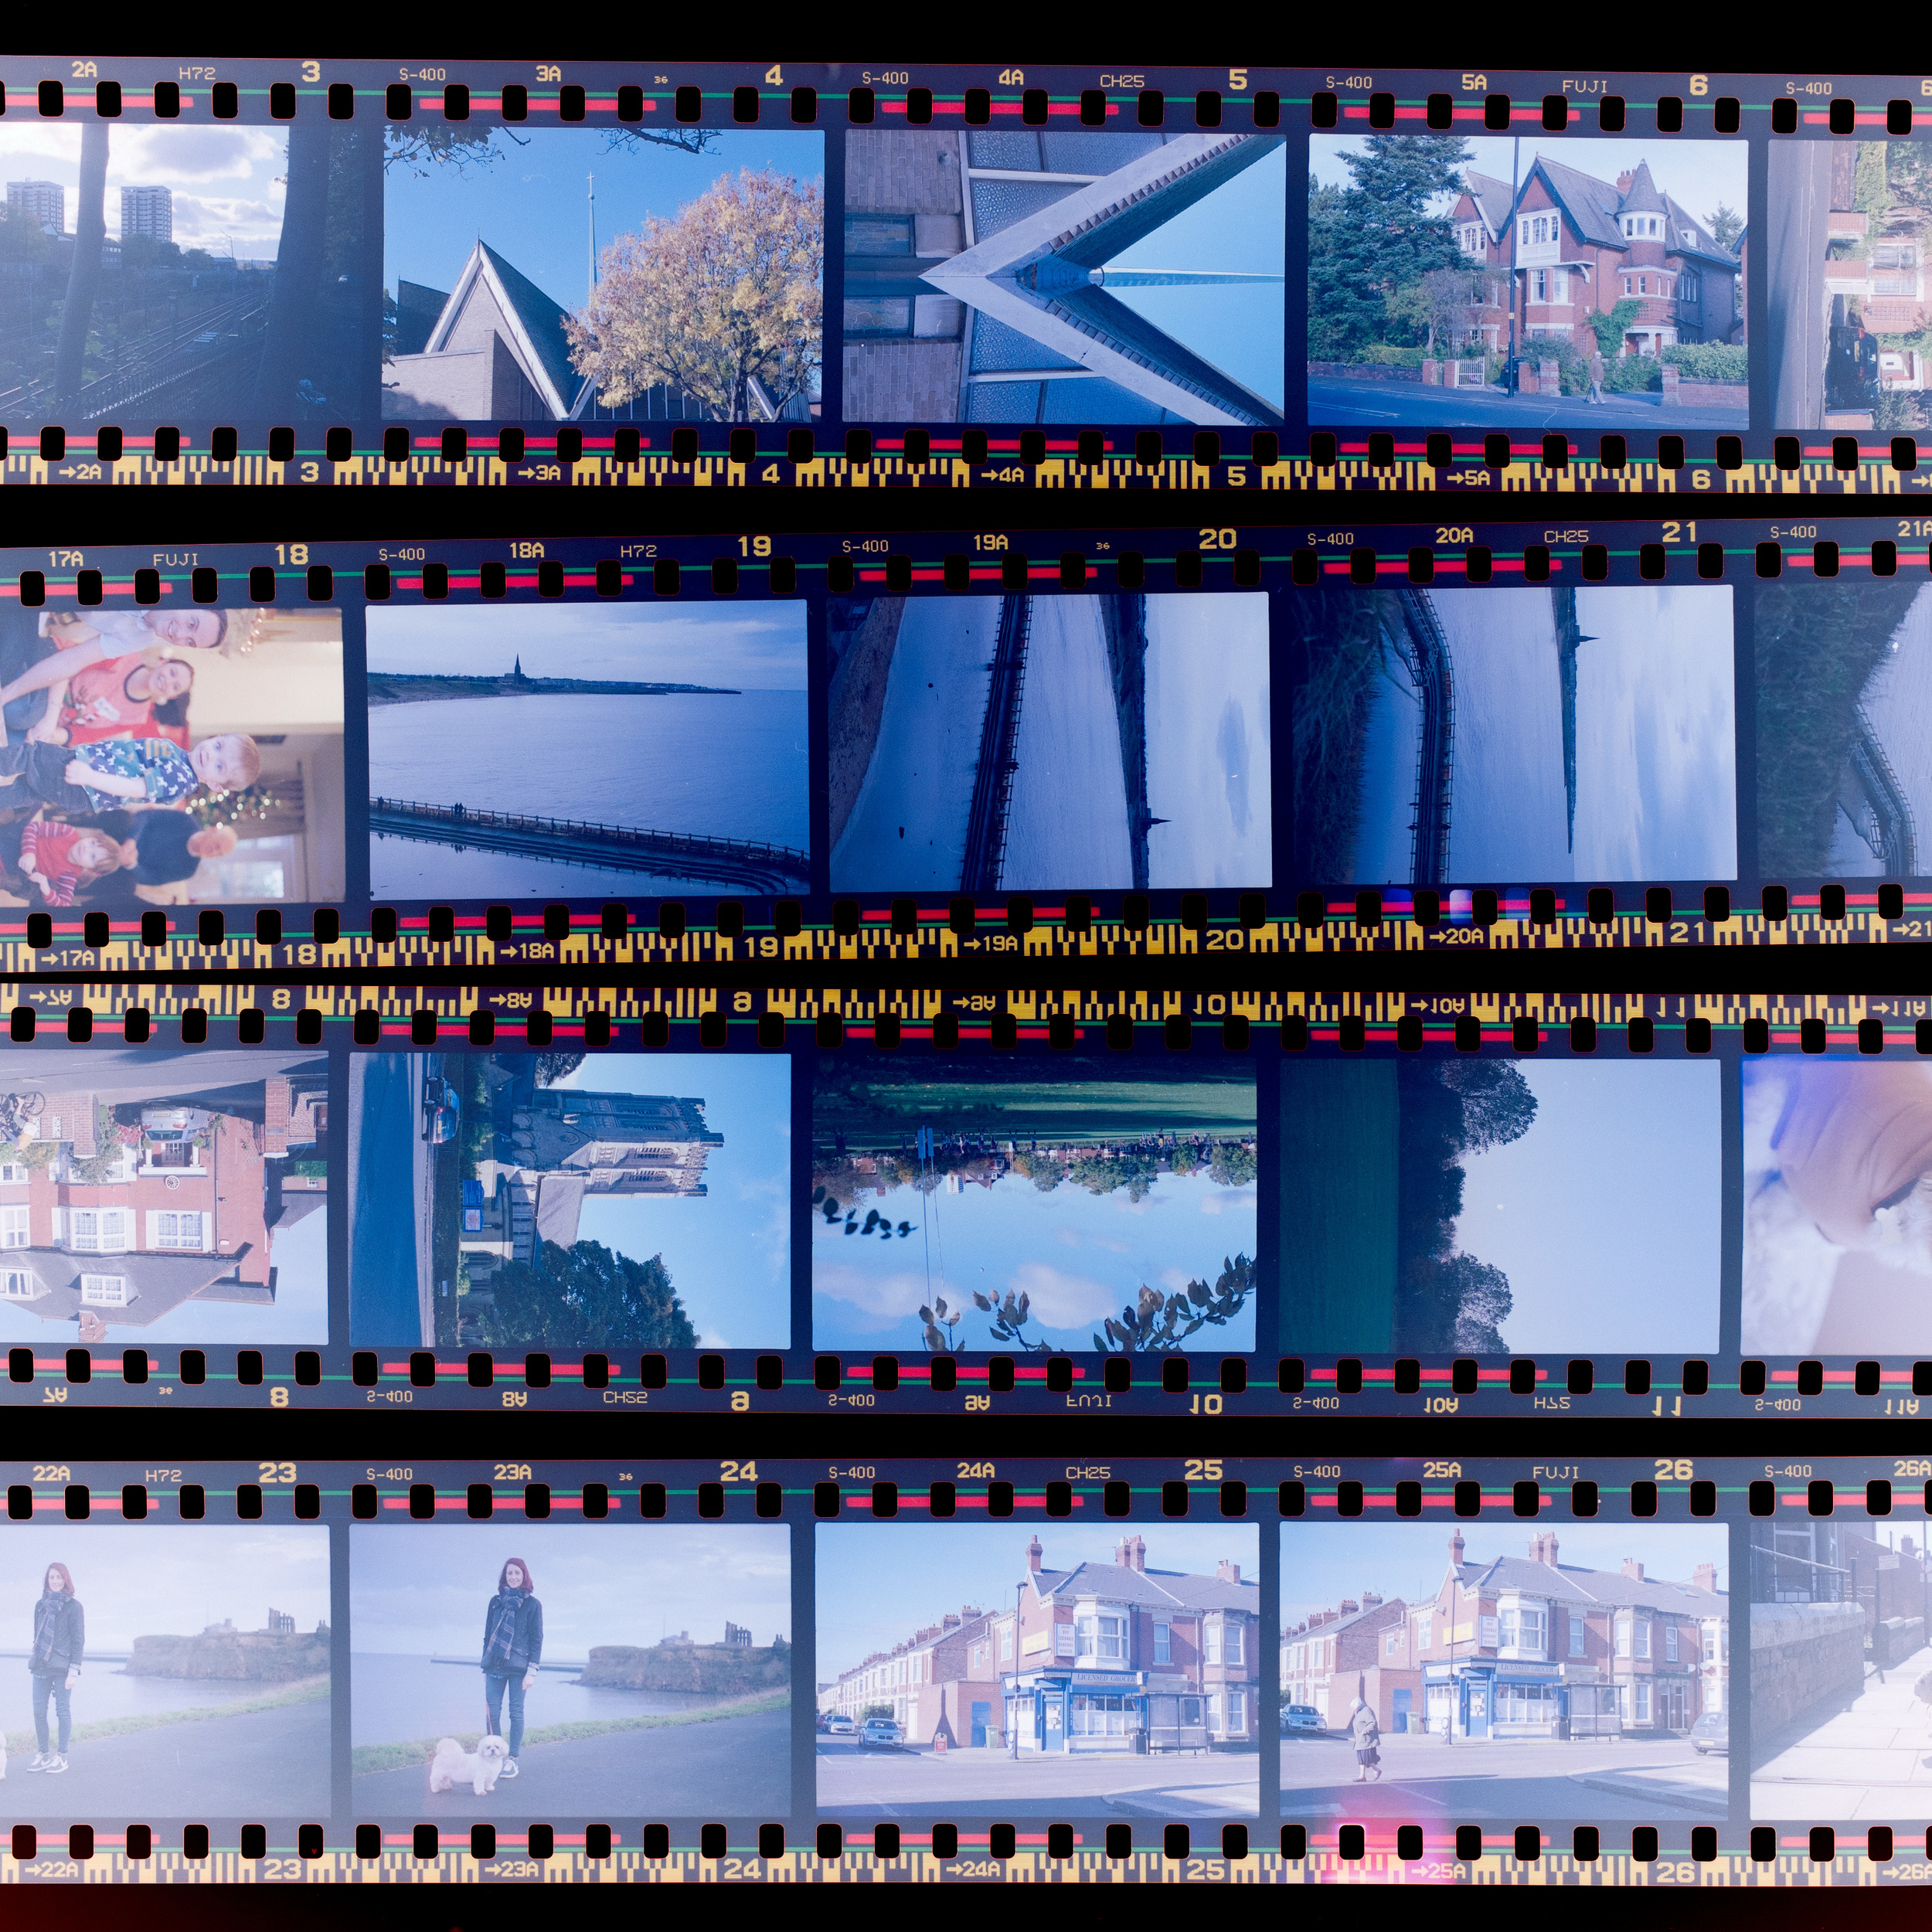
When I first started scanning 35mm negatives I thought that processing it would be as easy as inverting the image but unfortunately, it's not that simple. Due to the orange colour of the negative substrate a simple invert will result in a heavily cyan casted image but to go from that to a colour corrected image can be a complicated process.
A reason I like to shoot film is the colour that you get from it. There's a reason why people love shooting Portra, for example, and many hours have been spent trying to develop digital presets to emulate it's look. So the last thing I want to do when processing a digital negative is alter the colours and lose the film stocks' specific look. One of the issues of digitising negatives using the method that involves taking a photo with a digital camera is that the RAW file will have a colour signature of its own. This means that the final colour of the processed 'digital negative' will never be true to the film stock, but it will inherit a bit of the colour signature from the digital sensor that was used to capture it. There are ways to minimise this by selecting specific camera profiles in Camera RAW which I will go into more detail about later.
There are many methods online that cover the subject of processing digital negatives from simple one-click Photoshop actions to super in-depth colour curve treatments. This guide lies in between those techniques and will result in a well-balanced image that can be left as it is or be further processed by those who like to tweak things.
At the end of this tutorial you should have converted a digital negative into a positive file that is correctly colour balanced whilst maintaining the original film stock's specific look.
The Method: Colour correcting digital negatives
Duration: 5-10 minutes
What you will need
Digital negative RAW file
Photoshop or similar program with RGB Levels adjustment functionality
Learn how to scan your negatives with an DSLR with my previous guide:
Video guide
I tried to create a written guide for this but in the end it was just easier to create a video.
I hope this helps all the film photographers out there.
For those who have messaged me about this, I’m so sorry that it took so long for me to produce this guide. Thank you for all of your support!
Video Transcript
In this video I’m going to go through my process of colour correcting digital negatives.
The goal of this process is to create a coloured positive that represents the film stock’s natural colour and contrast.
First thing we’re going to need is a digital negative file.
You can follow the tutorial on my blog to learn how to create a high res copy of a negative slide using a DSLR.
If you have followed that tutorial, you should end up with a RAW image file of a negative slide.
So that’s where we’re going to start this guide.
When you open up the RAW file in Photoshop, it’ll get intercepted by Adobe Camera RAW.
That’s what we’re looking at here.
For this example I’m using a photo that I took in Paris on
Portra 400 iso film.
In here we’re just going to change two things to remove additional colour profiles and distortion added by the DSLR.
To remove the colour profile.
Click on Profile and select Browse.
Then select Camera Matching.
I shot this with a Canon camera which has built in profiles that improve certain scenes such as Landscapes and Portraits
but for this I don’t want any channels to be boosted or tweaked so I’m going to select the Neutral profile.
If your camera does not support custom profiles, then you can select Adobe Neutral, which is under the Adobe RAW drop down.
Now we can close the Profile Browser.
And we’re going to navigate to the Lens Corrections tab.
Here I’m going to tick Remove Chromatic Aberration and Enable Profile Corrections.
This is going to take out any distortion added by the lens attached to the DSLR during the scanning process.
That’s all we needed to do in Adobe Camera RAW so we can go ahead and OPEN the Image into Photoshop.
I’m in Photoshop CC 2019 here but we’ll only be using basic features so you’ll be able to use legacy versions without any problems.
Just so we’re all looking at the same windows, I’m using the default Essentials workspace.
The first thing we’re going to do is invert the negative to turn it into a positive.
So navigate to the Adjustment Layers tab and create an Invert adjustment layer.
Straight away, we can see that the image is looking much better but it’s quite lacking in contrast and it has this cyan cast to it.
These are the things we want to fix but we also want to retain the film stocks natural characteristics; it’s contrast and colour.
So to fix the contrast, we’re going to add a Curves adjustment layer.
We’re going to need to see the full image here so I’m just going to drag the Properties panel to the side.
We’re going to adjust each Channel so that we end up with tonal range in the image that goes from pure black to pure white.
So click on RGB here and select the Red channel.
Now we’re going to change the input point of the channel until we see a bit of clipping.
We can do this by clicking on this point slider and dragging it to the right.
If you hold the Alt key, you get this Threshold view which makes it much easier to see when the clipping occurs.
What we’re looking for is black pixels to appear within the photo area of the image.
Those black pixels are the areas that are the darkest in the photo.
We actually want to pull the input point back to the location just before we see any black dots.
This will mean that we don’t lose any dynamic range or detail in the image.
Now we’re going to repeat this with the Output point.
So holding Alt to get the threshold view, click and drag the arrow to the left until you see some red pixels appear.
Those red pixels are the areas that are the lightest in the image.
Remember, we are only focusing on the photo area of the image, so you don’t need to worry about the red that is appearing around the photo’s frame.
As with the Input point, we want to stop the Output point at the location just before we see any Red pixels, as to not lose any detail.
If you find that there are red pixels in your photo area before you make any adjustments to the slider
unfortunately you have already lost the data in the image and you are going to need to re-scan your negative slide.
If you followed my previous guide, you shouldn’t have any issues.
Now that’s done we are going to repeat the process with the Green and Blue Channels.
Every single image is going to have different Input and Output levels, so the numbers will be different every time.
This means that this technique is not something that can be batch automated
but I do believe that it is worth the time and I have yet to find a method that delivers better results.
Ok, now that’s looking much better, I can close the Properties Panel.
We can see a vast improvement in the contrast.
We’ve also lost a lot of the Cyan cast and the colours are looking a lot more natural and vibrant.
I do still think that the colour balance is still a little off, as you would expect it to be.
After all, film stock is only optimal at a single light colour temperature.
So let’s add a Colour Balance adjustment layer to fix that.
Now I remember on the day I took the photo, it was warm and sunny
so I want the colour balance to reflect that.
I think it’s looking a little bit Green, so I’m going to add a bit more Magenta.
I find what I like to do is drag it too far in one direction and then too far in the other direction until I settle somewhere in the middle.
This is all personal preference, so just go with your eye and what you think looks good.
Ok, looking good, I’m just going to add a little bit more Red for warmth.
I would recommend having Preserve Luminosity ticked as I find that when it is off, it adds some unwanted extra contrast.
I think that looks great.
Now the last thing to do is crop the image.
So a quick recap,
Here’s the negative,
Inverted to create a positive,
the Curves layer to fix the contrast and cyan cast
and the Colour Balance layer to fix the white balance and colour temperature.
I hope this helps you film photographers out there.
If you would like to see more of my film photography from this series you can support me by purchasing my zine from my website: anttran.com
Thanks for watching!
Ant Tran is product and lifestyle photographer. Currently working at END.


Tutorial